
Deploying an application can be a very daunting task. There are so many options and it can be overwhelming, especially when you dont even know where to begin. Hopefully today we can lay some of that fear to rest and give a good starting point for deploying an app. As the theme with the past few blogs Im going to be walking through the deployment process of a basic MERN stack application.
Heroku
Assuming an app is created and ready for deployment, We will first need a Heroku account. This can be created here.
Second we will need to download the Heroku CLI. This can be done many different ways all listed here. I personally used the Homebrew method for MacOS but this really a preferance.
Debugging
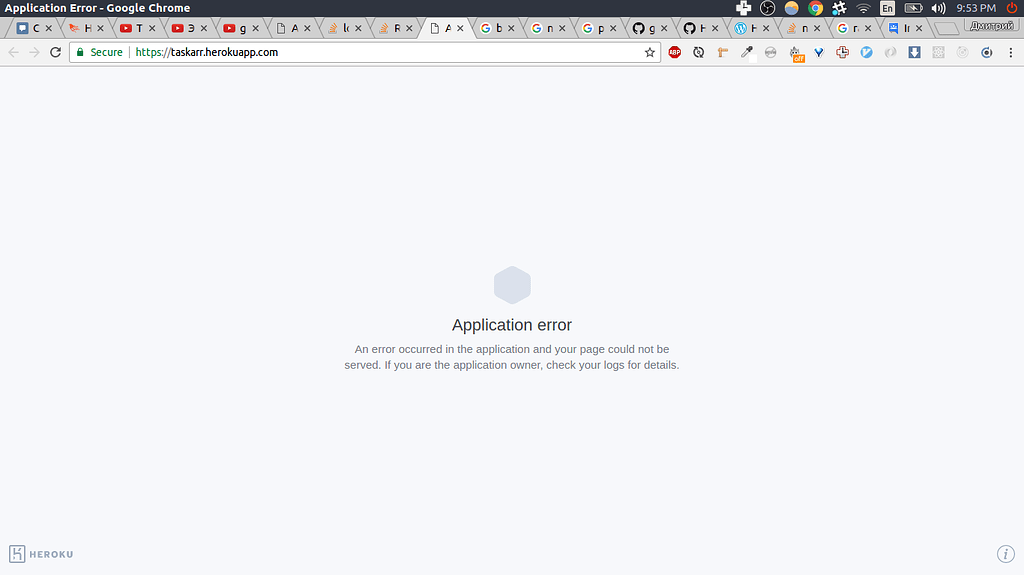
If you see this screen Do Not Do This
 Panic
Panic
Do not quit. Do not give up. Almost everyone see this when deploying applications especially their first one.

you can run the command heroku logs --tail to see the errors. Read them, Google them, Understand them, Fix them and become a better programer.
Steps for Deployment
1) Configure your port - basically this means you need to have your backend (specifically where your server started listening) look for Heroku’s open ports. On a local environment you may be able to use 3000 or 5000 and not need to worry if somthing else is running on that port, however with Heroku that isnt the case. there may be thousands of apps on Heroku that all need their own individule port. This really should be left up to Heroku to decide and that is done by configureing you app.listen function to look like this
const port = process.env.PORT ||  5000;
app.listen(port, ()=>console.log(`server started on ${port}`));
This sets the constant port to check for an environment variable called PORT first then if it is not found default to 5000. Heroku can already understand process.env.PORT so there is no need to configure that on the Heroku side.
2) Set your Mongo database URI to search for environment variable - In this case we could put the Mongo uri in our function and push it up to Github. This is NOT the best practice. Doing so would leave the connection string open and visable on the internet for anyone to steal. A better way to do this is to store it as an environment variable then tell Heroku what this variable is. This can be done by setting up your function like this
mongoose.connect(process.env.MONGODB_URI, { useNewUrlParser: true, useUnifiedTopology: true, useCreateIndex: true })
    .then(()=>console.log("connected to mongo"))
    .catch(err=>console.log(err))
After we deploy our app we will tell Heroku about this variable.
3) Point to your frontend if the NODE_ENV is set to production - This set is pretty simple but I would like to explain some background knowledge to give insight on whats happening under the hood. Built into a React is a script called npm run build. This script will optimize and compile this code for a production setting. This line of code listed below will check to see if the NODE_ENV is set to production (setting is done automatically by Heroku). If it is it will direct all routes (other then ones specified in our backend) to a client build folder that holds our frontend. note this block uses the path module built into Node.js to find the client / build / index.html file
if (process.env.NODE_ENV === 'production') {
    // Set static folder
    app.use(express.static('client/build'));

    app.get('*', (req, res) => {
      res.sendFile(path.resolve(__dirname, 'client', 'build', 'index.html'));
    });
}
4) Setup a script that Heroku will run to install packages and build client folder as listed above.
"heroku-postbuild": "NPM_CONFIG_PRODUCTION=false npm install --prefix client && npm run build --prefix client"
Heroku will run this script when we push our code to it. This script will first set production to false so we can install packages (Heroku will set it back to true on its own later). Secondly run npm install on the client folder to install packages in the frontend. Finally run npm run build that I mentioned earlier, creating out production version of our front end.
5) Push code to Heroku - This has a few sub steps for it to work.
A) login to Heroku CLI by typing `heroku login` in your terminal then putting your Heroku credentials into Heroku cli.

  B) Create a Heroku app by typing `heroku create` in your terminal. This will give you an application name.

  C) Go to the Heroku website and click on the application with the name matching the one that was just given. Go to settings -> reveal config vars. You want to add any secrets or keys here. Some commen examples are the MongoURI we talked about earlier, JWTSecret, and any other keys or environment variables. This is where we tell Heroku about the variables we have kept hiding from the internet. When accessing the variables in your source code you carn refer to them with procress.env.<key_name_here>. Then in this config vars section of Heroku the key name matches the variable name used process.env<this_name_is_the_key>. In the value section put the value that these environment variables hold. This may be the literal string of your MongoURI, JwtSecret, ect. *note there are a few ways to configure data you want to keep secret this is just the way I have found to be the easiest.*

  D) Push code to Git. *this is not an explaination of git I strongly reccomend you learn the basics of git before starting any project*

  E) Add Heroku repository as a remote repository. This command can be found under the deploy tab on the heroku website (after clicking into an app). It will looks somthing like `heroku git:remote -a <heroku_app_name_here>`

  F) The final step in this process is to run the command in terminal `git push heroku master` this should fire off the scripts set up earlier and deploy the application to Heroku. *this will likely take a long time*
6) Test your project on the deployed url given to you by Heroku cli or on the Heroku website. You can add custom domains to your apps as well however you do have to purchase a domain.
7) Celebrate - Tell your friends on LinkedIn and Twitter or whatever social media you choose. let them play around with the app and use it to resolve the problem you created it for!
